
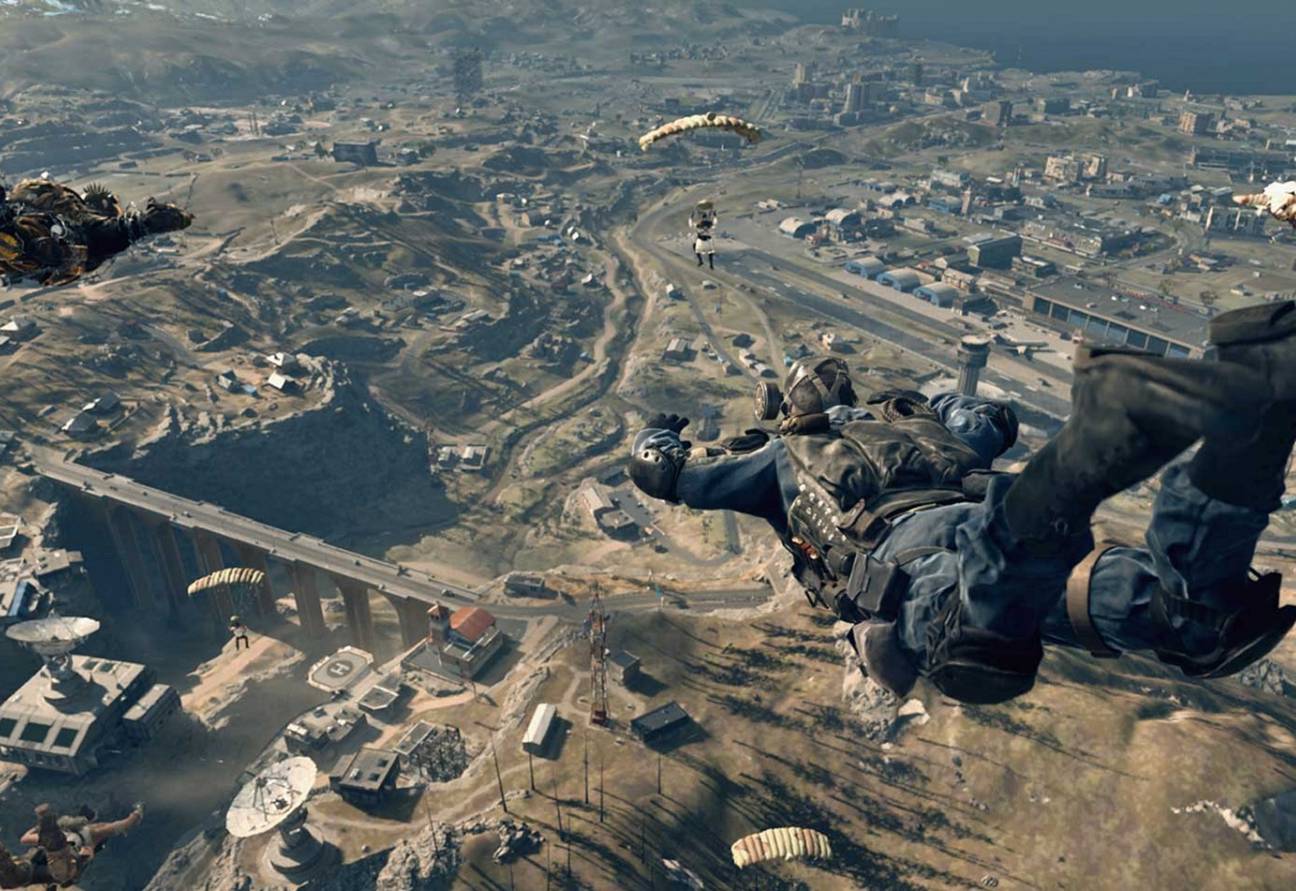
Warzone Season 1 is live, and if you dropped in on the default settings, you are leaving wins on the table. Season 1 launched on November 6 alongside Modern Warfare 4, with a new movement feel and new maps — but the out-of-the-box settings are built for casual play, not for winning gunfights. These are the FOV, FPS, and controller settings to copy.
One note before you start: Warzone is now PS5, Xbox Series X|S, and PC only. PS4 and Xbox One support ended on November 6, so these settings assume you are on current hardware.
Field of View: 120 on PC, 105 on Console
Field of view is the single biggest change you can make. A wider FOV shows more of what is happening around you — the player pushing from your left, the rooftop above you. The tradeoff is that distant enemies get smaller and harder to identify.
| Setting | Value |
|---|---|
| Field of View | 120 (PC) / 105 (console) |
| ADS Field of View | Affected |
| 1st Person Camera Movement | Minimal (25%) |
| 3rd Person Field of View | 90 |
| Vehicle Field of View | Wide |
On console, 105 is the sweet spot — you get the extra awareness without shrinking far-off targets or hurting performance. On PC, 120 is the competitive standard. Set ADS Field of View to Affected so your zoom stays consistent between hipfire and aiming down sights, and set camera movement to Minimal so the screen stops swaying while you move.
FPS and Performance: Frames Over Graphics
Warzone is won on reaction time, and reaction time starts with frame rate. Turn the pretty stuff down and the frames up.
Console:
| Setting | Value |
|---|---|
| Performance Mode | On |
| 120Hz Refresh Rate | On |
| Auto Low Latency | On |
| Fidelity CAS Sharpening | 80 |
PC:
| Setting | Value |
|---|---|
| Display Mode | Fullscreen Exclusive |
| NVIDIA Reflex Low Latency | On (+ Boost) |
| V-Sync | Off |
| Frame rate cap | 3–5 FPS below your monitor’s refresh rate (138–141 on 144Hz, 234–237 on 240Hz) |
| DLSS | Performance (Transformer model) |
| Texture Resolution | Normal |
| Detail, Shader, and Surface Quality | Low |
| Shadow Quality | Low |
An uncapped frame rate runs into CPU limits and inconsistent frame times — and inconsistent frames feel worse than a lower stable number. Cap a few frames below your refresh rate to stay inside the variable refresh window.
Controller: Sensitivity, Deadzones, and Response Curve
Most of the settings the pros publish for Season 1 land in the same place: stick sensitivity around 1.65, a Dynamic response curve, and deadzones as low as your controller allows without drift.
| Setting | Value |
|---|---|
| Horizontal / Vertical Stick Sensitivity | 1.65 (range 1.55–1.72 across Season 1 guides) |
| Aim Response Curve Type | Dynamic |
| Deadzone Inputs | Left Stick Min 3, Right Stick Min 3, Max 99 |
| ADS Sensitivity Multiplier | 0.90 |
| ADS Transition Timing | Gradual |
| Vibration | Off |
| Button Layout | Tactical Flipped |
Deadzones exist to compensate for stick drift, so set them as low as your hardware allows. Start near 3, drop your gun, let go of the sticks, and watch the crosshair — if it drifts on its own, raise the value until it stops. Max 99 gives you full stick travel. Dynamic is the curve the Season 1 guides agree on: fast near the center for close-quarters flicks, steadier at the edges. If Gradual ADS transition feels slow, Instant is the alternative the other half of the community runs — try both and keep the one that feels right.
Movement and Combat: The Small Toggles That Add Up
| Setting | Value |
|---|---|
| Tactical Sprint Assist | On |
| Slide / Dive Behavior | Hybrid |
| Sprint Restore | On |
| Armor Plate Behavior | Apply All |
| Interact / Reload Behavior | Prioritize Interact |
| Weapon Mount Activation | ADS + Melee |
| Dedicated Melee Weapon | Press Melee |
| Parachute Automatic Behavior | Free Fall |
Clarity: Turn the Noise Off
| Setting | Value |
|---|---|
| World Motion Blur | Off |
| Weapon Motion Blur | Off |
| World / Weapon Depth of Field | Off |
| Film Grain | 0 |
| Inverted Flashbang | On |
Motion blur and depth of field add visual noise that makes enemies harder to spot in a fight. Film grain does the same. Turn them all off.
Audio: Hear Them Before You See Them
Use the headphones audio mix, keep effects loud, and mute the music — footsteps sit above gunfire in the mix, and in Warzone the first sound of a push is often the only warning you get.
Copy these, drop into a match, and tweak from there. Sensitivity and deadzones are personal — your controller’s drift and your aim style decide the final numbers — but this baseline is where Season 1’s best setups start.